–
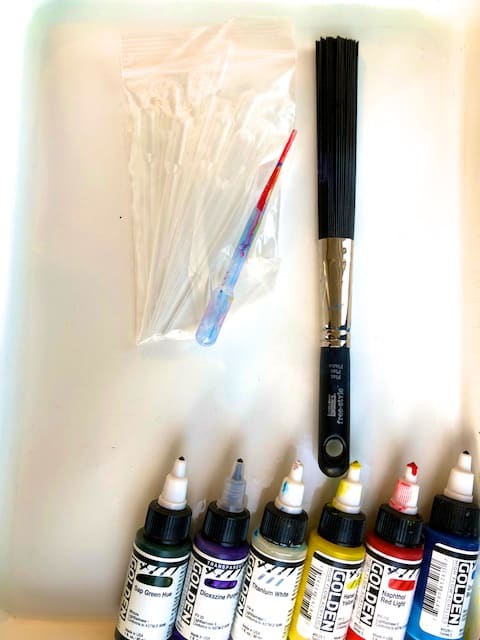
As a sequel to my window into some of my mark making explorations (see part 1 here), I now explored drips, drops, and spatter, and am letting you look over my shoulder. I have the two new tools shown above: pipets, a glamorous spatter brush, along with some new High Flow acrylic by Golden that I am experimenting with.
Drips:
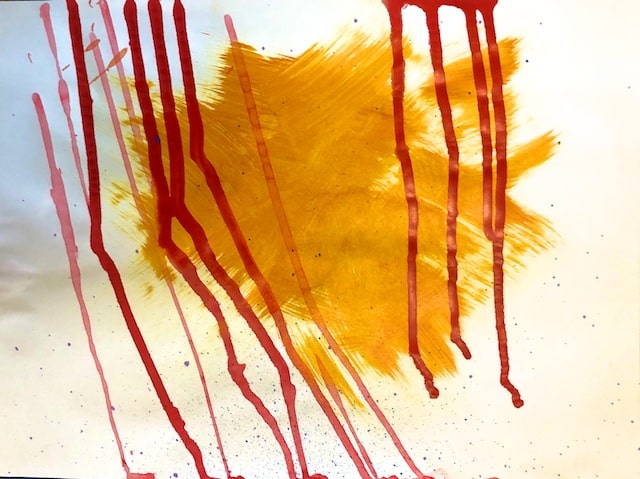
On the right I dripped High Flow red acrylic straight from the bottle; on the left, from a pipet, both with and without water.
Drops:
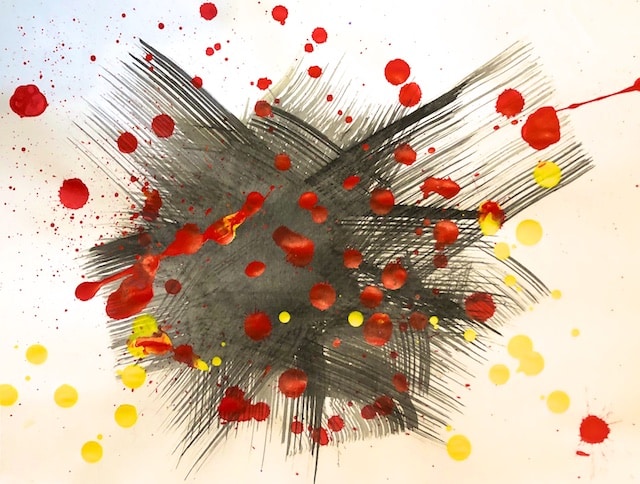
Here I did yellow High Flow acrylic drops from the bottle, and then did red from the pipet. The pipet was much harder to control and got bubbles in it, which made the drops bigger. I’ve never played with a pipet before, and will continue to experiment. So far, not sure I like it.
Spatter:
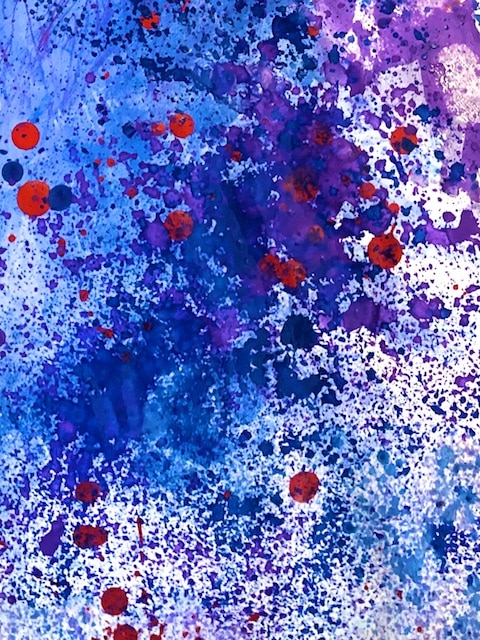
Here I did different densities of spatter from the new spatter brush (LOVE! LOVE! LOVE!) and a toothbrush. I felt like I had pretty good control here, especially since this concept was not new to me. However, previously I have simply done it with regular brushes, and the results are more sporadic. I’m thinking this would make good collage paper, so I think I’ll do more of it later.
Now for putting it together. Here I am experimenting with letting drops and spatter drip on an unfinished piece (a little too much I think) :
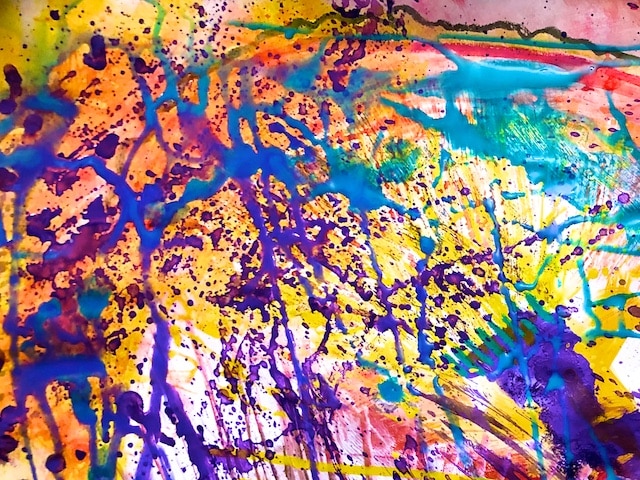
Now I will apply all three–drops, spatter and drips– to unfinished work done in the previous post. In working on these, I’ve turned them around from their orientation as it was before. But remember, I’m not going for composition here– just experimenting:
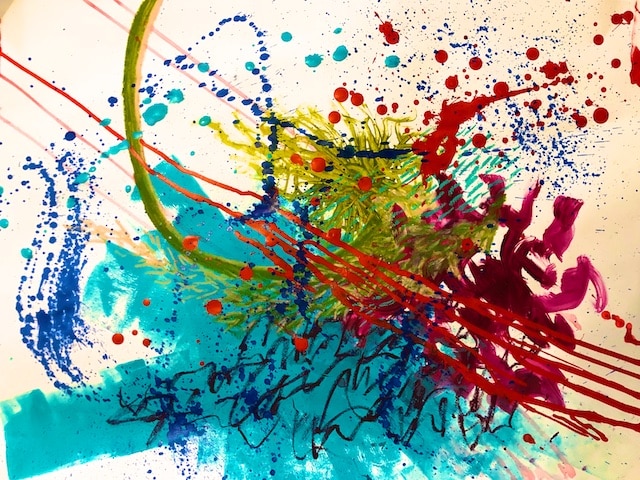
I dripped the red on a diagonal, then put in some drops in red and in turquoise. I’m especially loving the blue spatter on left side! I am so happy and willing to just “let it rip!” Here is another:
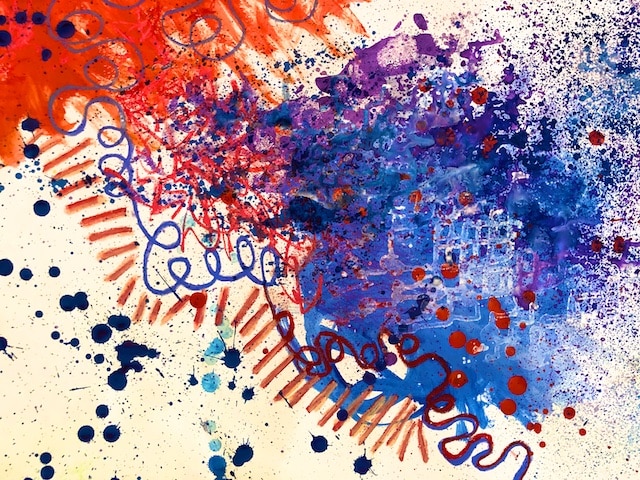
Here I put big drops in blue on the left from a height, then some toothbrush spatter, closely done, on the right. I did drips in white in the central right, which I held one way, and then turned in another direction, to let it drip both ways, which created an interesting grid. This is a cool method to use elsewhere; it would have been better here if the white paint was more opaque, reintroducing more “white space” back in. As it is, it’s too subtle, I think.
One more:
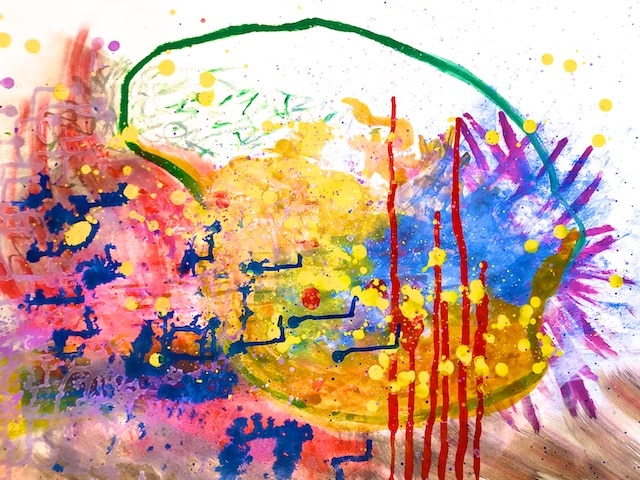
Drips, drops, and spatter. And I let the spatter drip a bit.
I learned how imperative it is to let High Flow paint dry between steps! This is not for the impatient! Thank you to my patient husband; these were in the foyer for a while drying…
I’m likely to brayer over these with some transparent white, to gain some more white space back in. The thing I love about acrylics is the vast layering potential, which I don’t get in my usual mediums (pastel and clay).
I like the drips, drops, and spatters because they are relatively random, and freeing, with only a moderate amount of control possible. It feels more like an adventure and discovery process, which I prefer, rather than a predetermined, calculated procedure.
If you are interested in getting a spatter brush this is the one I got from Dick Blick. It’s a lot of fun, with great results. Look for spatter in paintings to come!
If you are interested in the pipets, I got them here from Dick Blick as well, although not as enamored. Both were inexpensive and yield lots of mark making potential. Give it a go!
–
2 Comments
-
This was fun to read your process. Those pipettes are completely over priced, If you are going to continue using these, they are sold for less in packs of 50 or 100. They are the same thing as I use for making skincare and are made in China and the same ones can be purchased from Amazon for less per unit. You may also buy a pack which has the large medium and small together or all of one size. ?
-
Author
Thanks. I’m unlikely to buy them again though. That there will be my lifetime supply, since you can rinse them well enough, to reuse them. All this was done with just the one, and I try to avoid plastic in the landfill.
-

