–
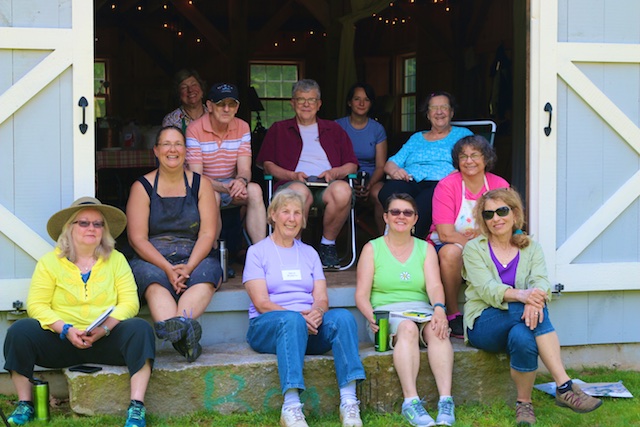
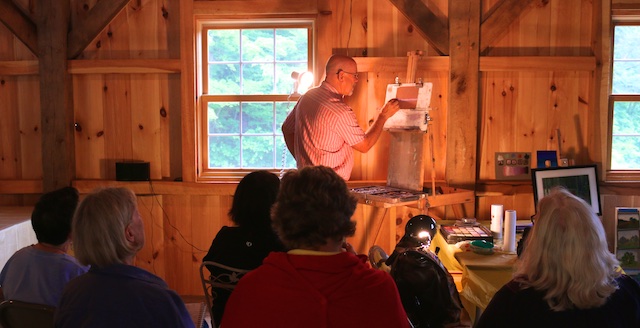
I have just concluded enjoying a three day workshop with Stan Sperlak. Check out his website here. He is a pastel artist who paints out of Cape May in New Jersey, and teaches this workshop all over the world. (He had just returned from Australia and New Zealand and was off to Iceland next week).
You can see my work for day 1 (here) and day 2 (here) of this workshop on this blog, and below in this post you can find the summary of my notes (in the order I took them) along with my photos of the workshop demos (in order as the days progressed). I have also added a print button below my notes, since so many people wanted a printed copy.
- Read The Art Spirit by Robert Henri (there is a great quote in there about self-educating)
- For starting a painting consider using the huge sticks by Art Spectrum (in particular the indigo hard pastel)
- Stay monochrome longer in your paintings because it will make it easier on you.
- When you paint from photos, paint from black and whites, and make up the color.
- Look at a vista and think how you would paint it; then go do it (without a photo) from memory or sketch.
- Foregrounds just happen with what falls down on them.
- Phone app: Value Viewer by Plein Air
- Anything horizontal in your landscape will be one of your lightest values.Verticals are the darks and shadows. Everything else is a half-tone.
- Tony Allain wants to say the most with the least.
- Clouds closer to you are darker (makes it look downhill in perspective bringing the closer ones “down”). On the river, the farther side is darker making it look uphill in perspective.
- Full use of value spectrum = day
- Lightest end of value spectrum = foggy
- Lower medium value spectrum = rainy day
- Higher medium value spectrum = twilight
- Darkest end of value spectrum = a night scene
- Clouds are a close value arrangement. Shadows are a close value arrangement.
- Don’t overwork your paintings!
- Have a plan but be willing to take detours.
- Always work from big to small, dark to light.
- Work from the back to the front.
- Work from top down: top of the barn, top of the tree, top of the person; place those things on your sheet first.
- Clues to perspective: receding size, overlapping shapes, sharp close/fuzzy behind, warm close/ cool behind, close has maximum contrast.
- Spend more time measuring.
- After you up down grisaille, put on fixative so lighter stuff on top won’t smudge with it.
- In your trees, put in lower sky holes in different color than higher ones. Cut in your sky holes with dark for branches.
- Learn to draw. Simply image. Step back often. Do the things pastels do well. Stop setting yourself up with impossible equations.
- Richard Schmidt uses an Umber wash.
- If you can describe what’s wrong with your painting (technically), then you know how to fix it for the answer is in the opposite of what you are doing. Do that instead.
- You are capable to paint what you know and love.
- See everything like it is a painting.
- You and only you can control the process.
- If you haven’t built up a dark foundation you cannot show light.
- “Live everyday as if it was your last for someday you will be right.”
- Distance should be subtle and blended, Mid-ground should have all the activity. Foreground will be fuzzier. This is true for the painting as a whole but it is also true for any single form in it as well. Put highlights in the middle not at the edges, like you’d do an apple in a still-life.
- Use ultramarines or cobalt for skies, no other blues, especially not blue greens.
- Paint clouds so they feel like they are lifting. Do not get too much pigment in your sky.
- Darkest sky value on top. Medium value below top set of clouds, and next lower value of sky under each set of clouds will make them “lift.”
- If I squint, the darks of the clouds are not that different than the background sky color.
- Consider painting cloud shadows on the surface of the earth.
- Wallis warm tone is still available (follow her on Facebook or get it from her website).
- To see if your horizon is straight, get a ruler or look down the side edge of your paper.
- To get luminosity, go dark to light. Start with dark tones, then put half tones, then put highlights.
- Dune grasses: fixative on the color underneath (covering the rest of the painting) and let the fixative dry. Cover with grass color then pick at it with a push pin (sgraffito).
- Mats do not sell no matter how gorgeous and well done.
- 8×12’s look better than the standard size 9×12 that everybody does. Or do a square.
- Plate glass becoming mass produced in the 1700’s brought pastels into popularity.
- Keep your pastels clean!
- Don’t blow off pastel dust from your painting.
- Paint your own truth. Paint something that means something to you. People can smell honesty (and otherwise).
- Artists work to look at more closely: Bo Bartlet, CW Mundy, Clive Aspevig, Calvin Liang, William Merritt Chase, Maynard Dixen, Albert Payne, Lorenzo Chavez. Look at their clouds. He says my painting reminds him of Birger Sandzen (see here on my blog). Study that some more.
- Go to the IAPS Convention in New Mexico in June 2017. Registration the fall before is sold out the same day. Get a jump on it; you can do four one day workshops with four different people.
–

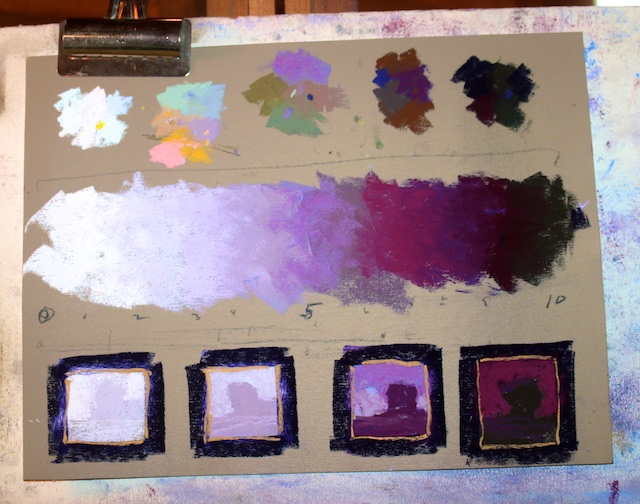
Value Study Demo
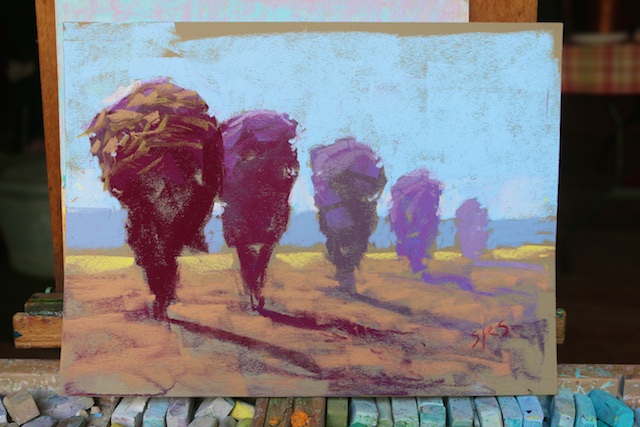
Receding Trees Value Demo
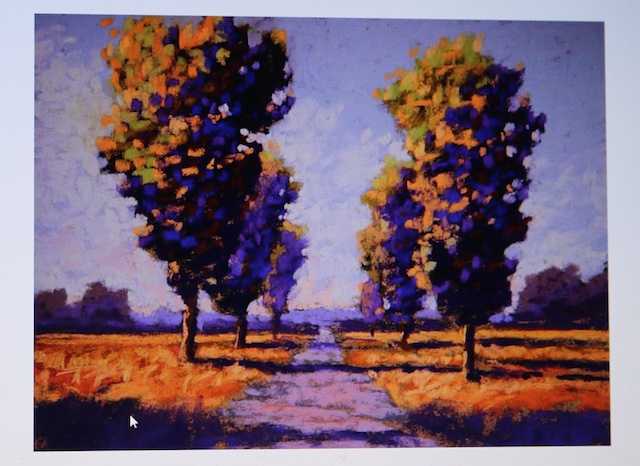
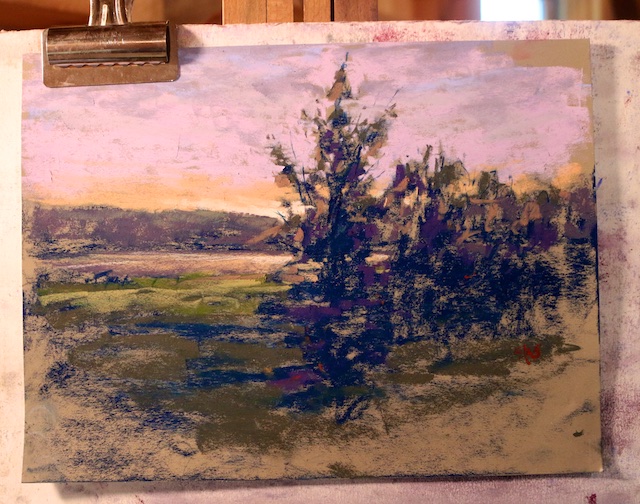
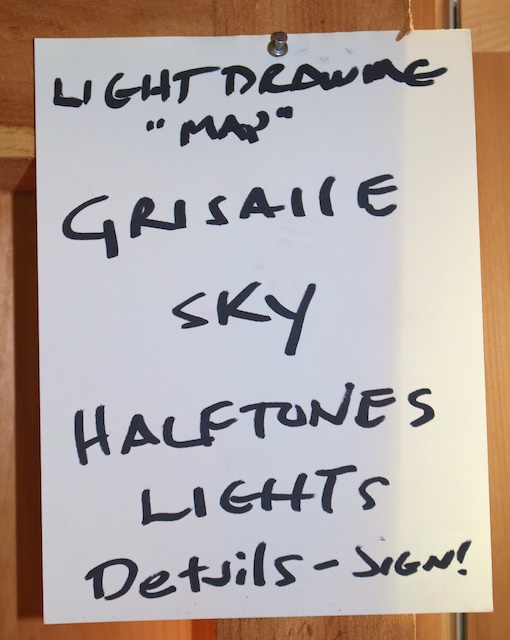
Grisaille Armature Demo
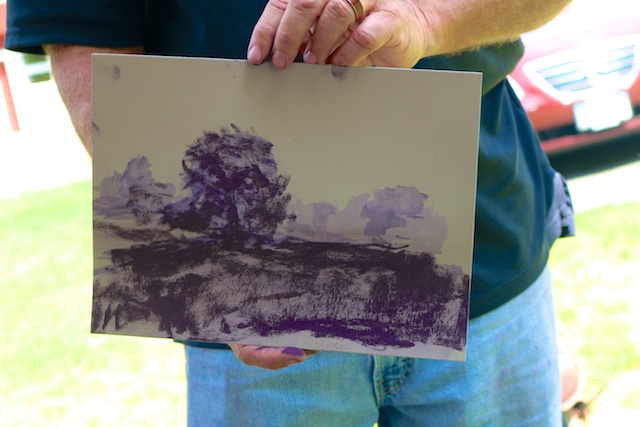
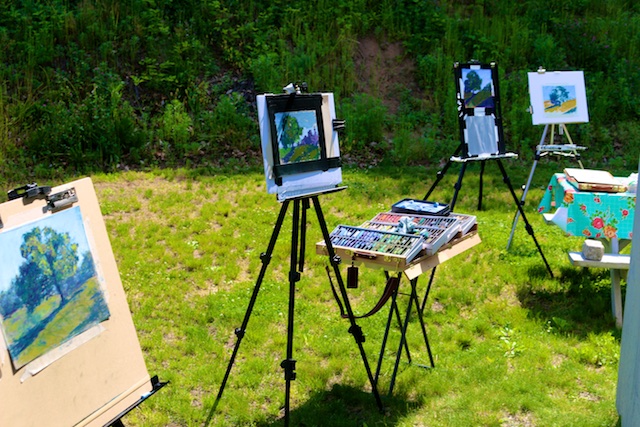
Plein Air Tree Demo (Grisaille)
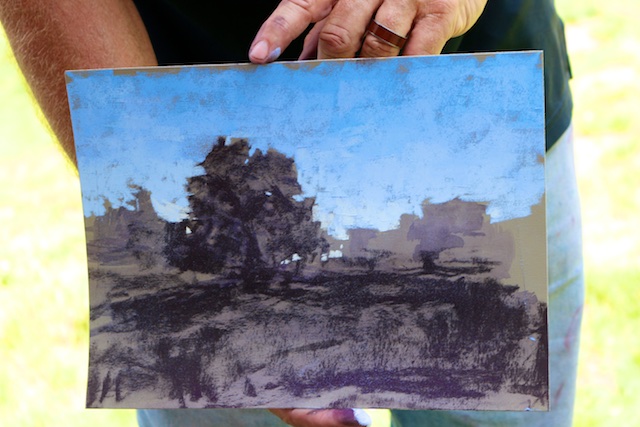
Plein Air Tree Demo (laying in sky)
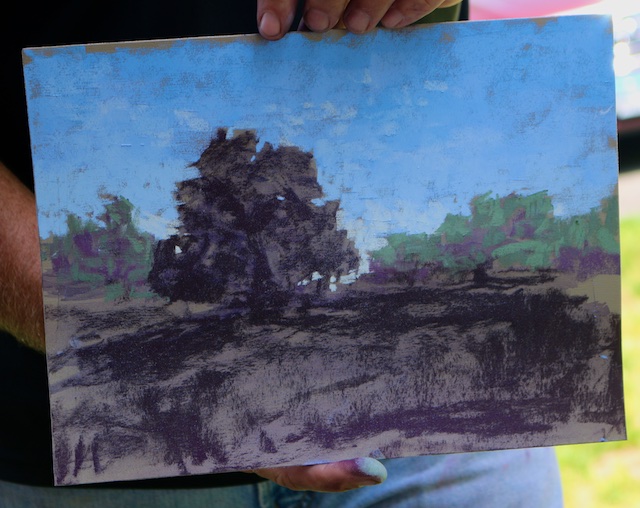
Plein Air Tree Demo (Laying in background half tones)

Plein Air Tree Demo (Laying in mid-ground half-tones)
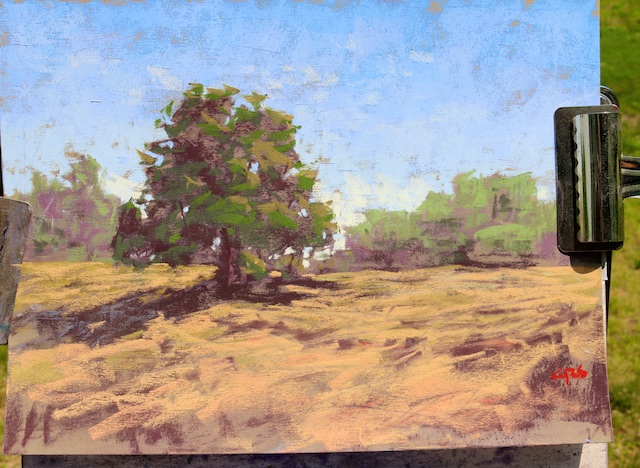
Plein Air Tree Demo (Laying in foreground half-tones and lights)
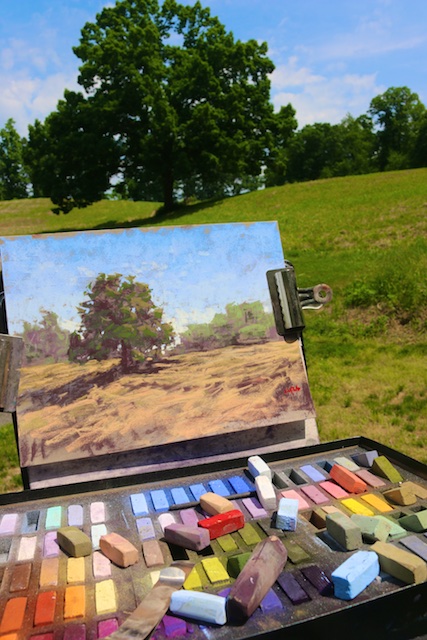

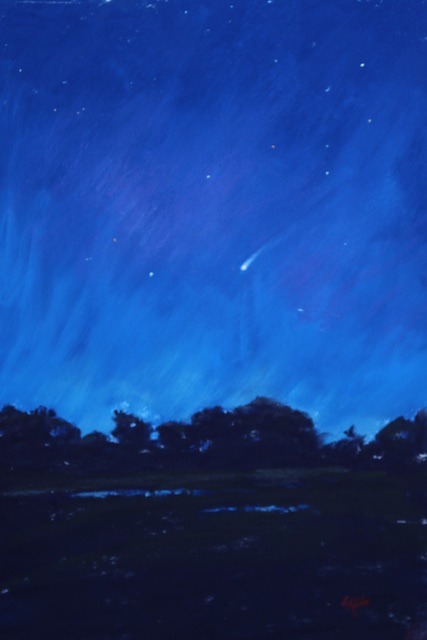
10 minute night sky demo with colored stars
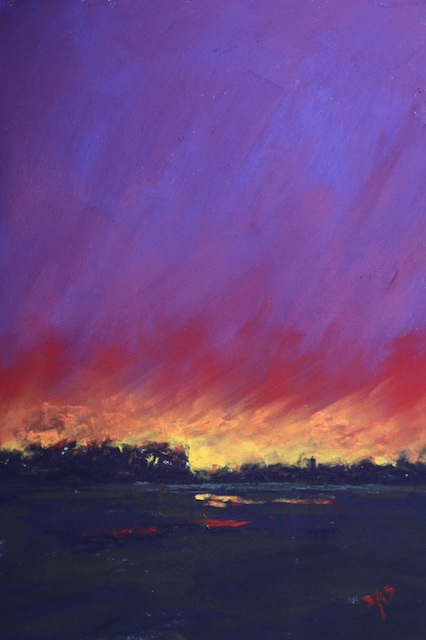
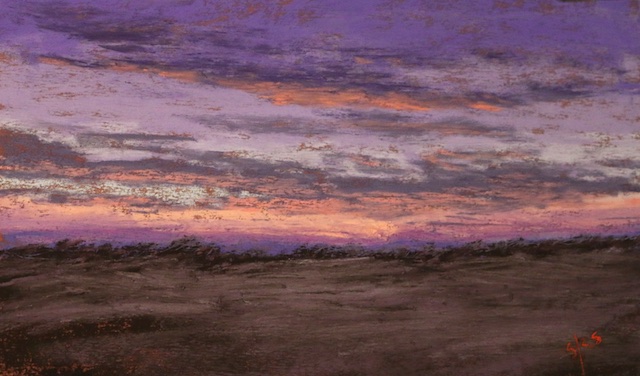
10 minute sunset demo

10 minute twilight demo
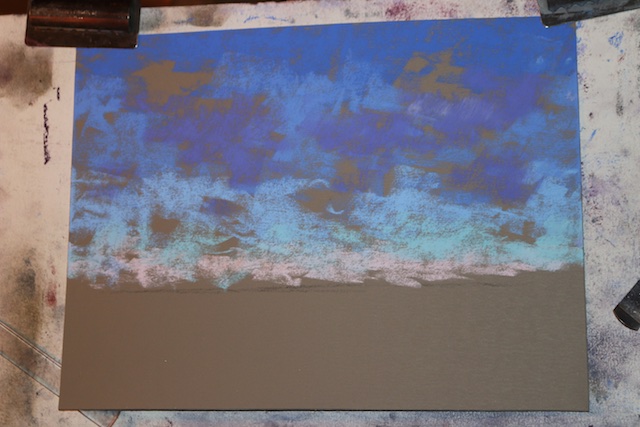
Cloud Demo (Laying in sky gradation leaving sky holes)
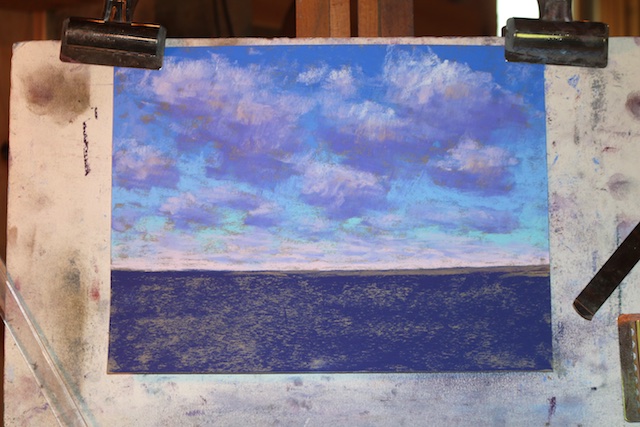
Cloud Demo (fill in clouds with feathery upward strokes supported by sky gradient)
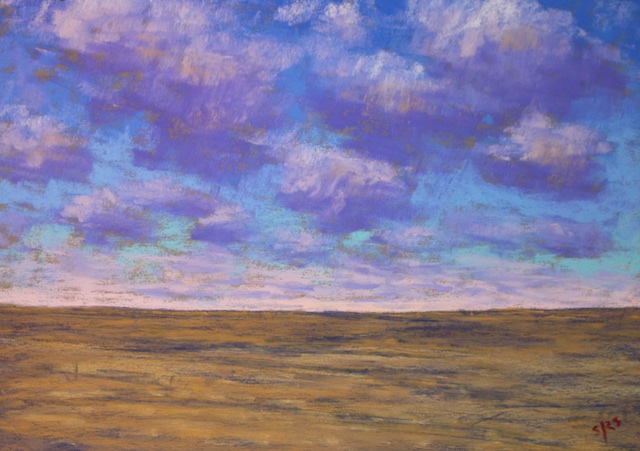
Cloud Demo (add in lights at the horizon and foreground half-tones over a dark base)

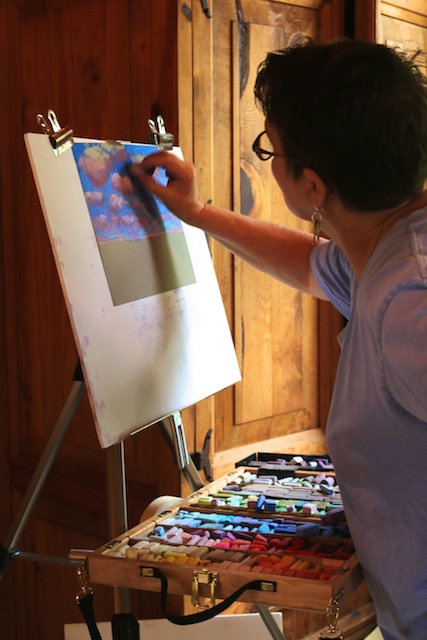
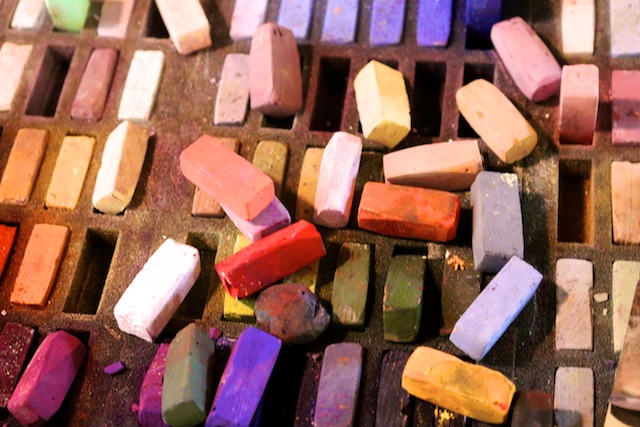
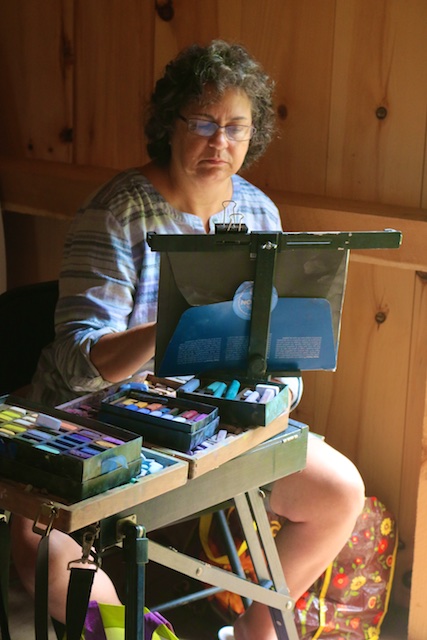
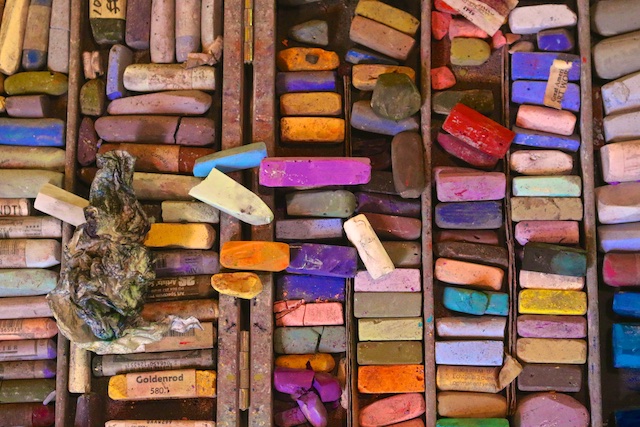
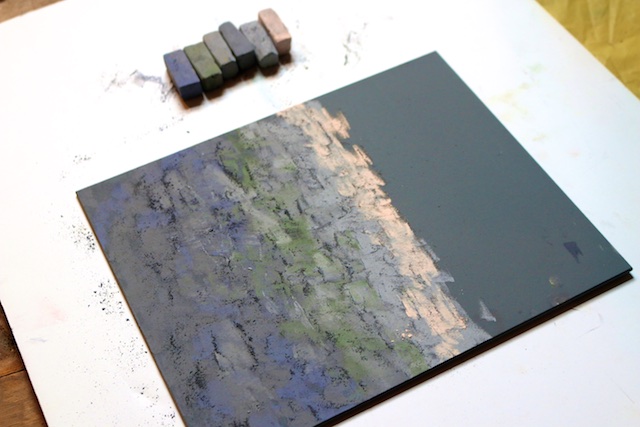
Palette Knife Demo (on a flat surface build up a gradient of pastel dust)
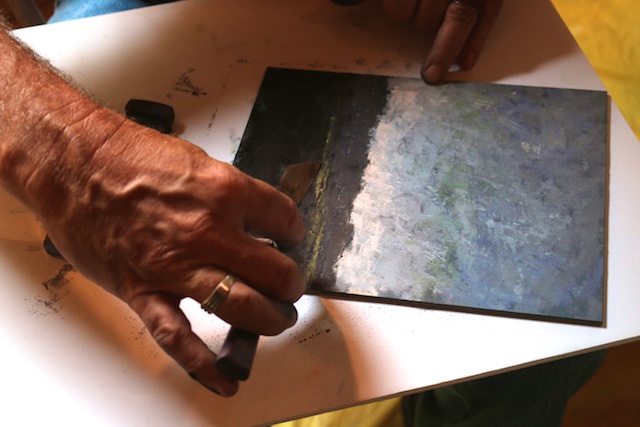
Palette Knife Demo (press dust in with a palette knife)
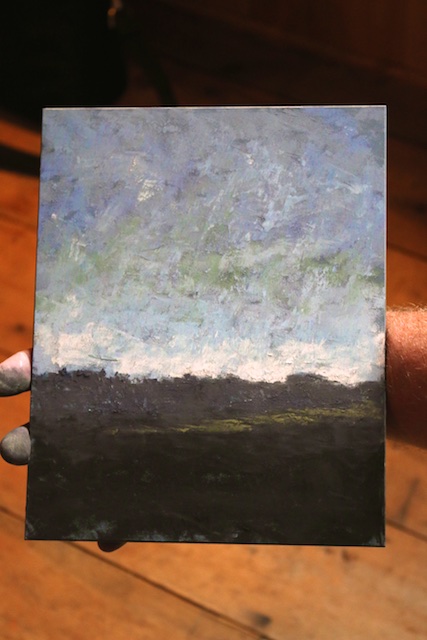
Palette Knife Demo (result)
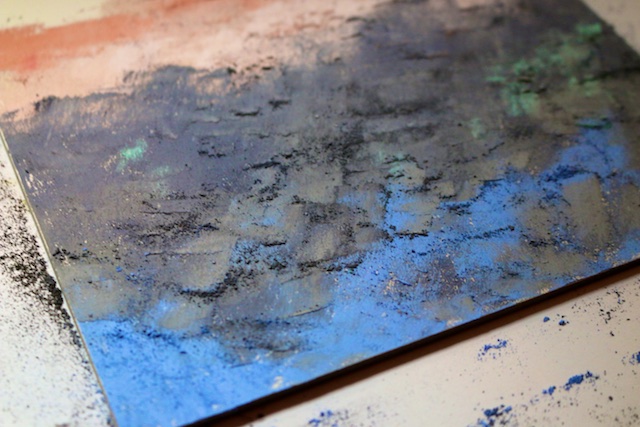
Alcohol Wash Demo (build up dust)
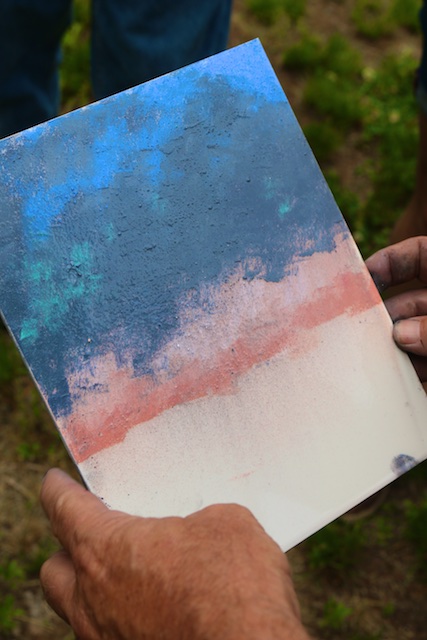
Alcohol Wash Demo (spray with Rubbing Alcohol and let run)
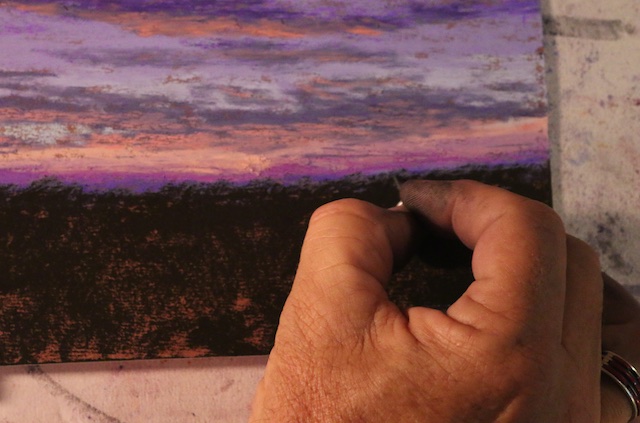
Scratching with a pin through to a fixed under layer for far off grasses
17 Comments
-
Thanks for sharing! Great reminders, workshop in a nutshell.
-
Polly- in April I did a similar workshop with Stan . It was on the Sunshine Coast, Queensland , Australia. We only had 2 days available and I can see from your notes what me missed out on .Especially the clouds. Your notes are SO much better than mine. Would you consider sending the info/photos in this blog to me by email so that I can keep them for reference.
Just reading what you have written 5 weeks later has been a real refresher for me. Thank you.-
Author
I just sent you an email.
-
-
Hi Polly. What a generous thing to do, to post your notes. I attended a workshop with Stan in Australia about 5 years ago, and he introduced us to Terry Ludwig pastels. That set the bar very high!
Could you please explain your comment about mats not selling? Does this mean the mat which surrounds the pastel painting?
Also, if you wouldnt mind, how do you use a pallete knife with pastel? Just straight onto pastel paper?
Again, thank you for your kindness for such an inspiring summary.-
Author
I asked Stan about framing pastels with or without a mat and he said that, in his experience, when he has matted them they do not sell nearly as well as when he frames them without a mat. I surmise that this is because without a mat, the pastel looks more like a painting, and it is perceived to be worth more. With a mat, maybe it reads more like a drawing or a sketch, and not as valuable? Regarding the palette knife, he worked on a flat surface building up a lot of pastel dust that he then pressed and smeared into the tooth of the paper.
-
Thanks again Polly. I am fascinated by the palette knife approach. Something I’d never considered before.
-
Author
You don’t need to scrape it on with a palette knife if you rub on vigorously enough on a horizontal surface and create enough pastel dust.
-
-
-
-
At our recent workshop with Stan In Queensland we discussed framing without matboards. To keep the pastel away from the glass he uses spacers. These come in various colours ( grey, black) and depths and stick onto the glass. The lower one will act as the “trap” so the work needs to be as free of loose pastel as possible. On his big paintings Stan uses a very wide moulding with a narrow gold fillet next to the painting.. Stan paints right to the edge of his paper so this method is his best option. It is a framer’s nightmare if mats are being used . They need a pastel free edge at the top to be able to securely attach the painting.
One of the Master Pastellists , a member of the Pastel Society of Australia, frames using spacers. On works ( as small as 9″X 12″) that have a predominately black background she uses a 2″ matte black moulding ( no fillet) which extends the over-all feeling of the work.
In case Ute is wondering where Stan gets the pastel dust to push into the paper with the very wide palette knife– he chooses the colours he needs and scrapes the sides of the pastel sticks onto the paper ( laying flat) -
Thanks Gail.
-
This is wonderful!!!!! I have taken a couple workshops with Stan. Your notes and pictures are fantastic. Thank you so much for sharing. I have not been able to attend recently as I am a caregiver for my mom full time. So this made me feel like I was there with you!!!!!! Thanks again !
A friend in art…Peggy Gryger-
Author
Glad you liked it, and so glad to have you along!
-
-
These notes are such a helpful reminder of what I learned from Stan at his Cape May Summer Beach workshop. We painted at five different sites, including Stan’s farm in Goshen. I can’t wait to try the palette knife technique and the small color studies you describe. Thanks!
-
Thanks for sharing! Well done!
Maureen Pitcher
-
Author
You are welcome! I’m glad you found it helpful. Feel free to share it…
-
-
Wow! This is a wonderful summary. I was too late to sign up for a Sperlak 3 day event in FL, but these notes are wonderful. Would you please send them to my email? I am so grateful to you. Great ideas and summaries.
Kathleen-
Author
I just sent it to you in email and also added a print button on this blog for future readers. So glad you subscribed to this blog!
-
Pingbacks
-
[…] Stan Sperlak Workshop Notes and Demos […]


